1.) Watch This Video!
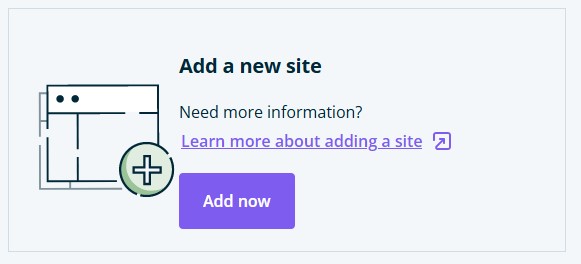
2.) Go to the WP Engine Migration Settings Page
At this point in the process, WP Engine automatically takes you to the automated migration page in your WP Engine account.
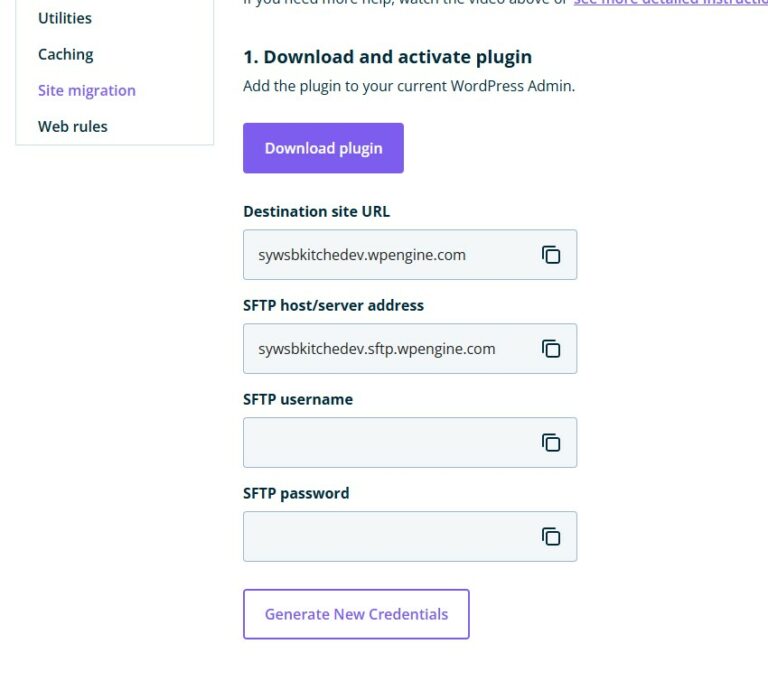
From your WP Engine Portal, you should still be on the Automated Migration page.
Click Generate New Credentials. This will automatically create the credentials you’ll use in the following steps.
(If there’s a message about SFTP credentials not ready, just refresh page after a few minutes)
3.) Go to our Demo Site to start migration process.
Open a new Window or Tab: Use the information below on our Demo Store (and login information) for the Site you selected. Go here and log in to start the migration process.
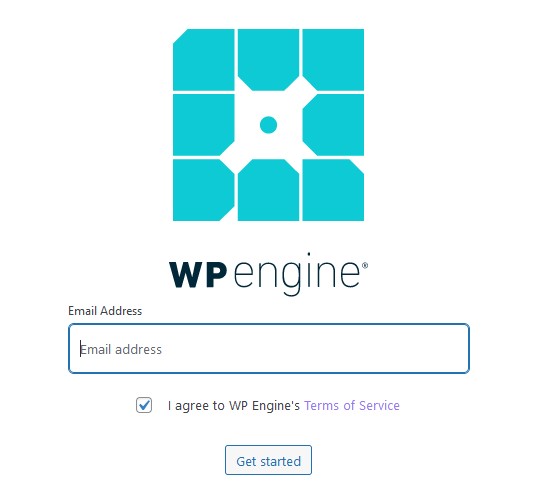
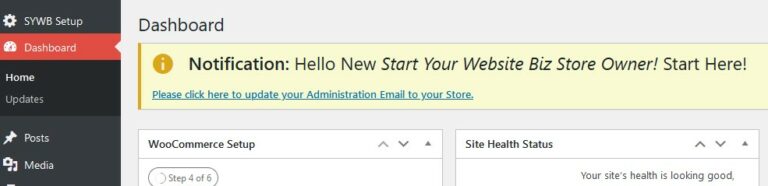
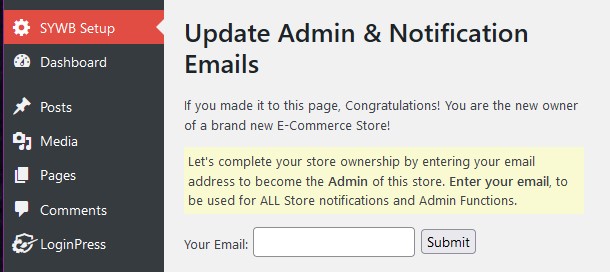
Once logged in, you’ll be taken to a screen to enter your email, then you can start adding in your Migration Settings.
4.) Enter Migration Information
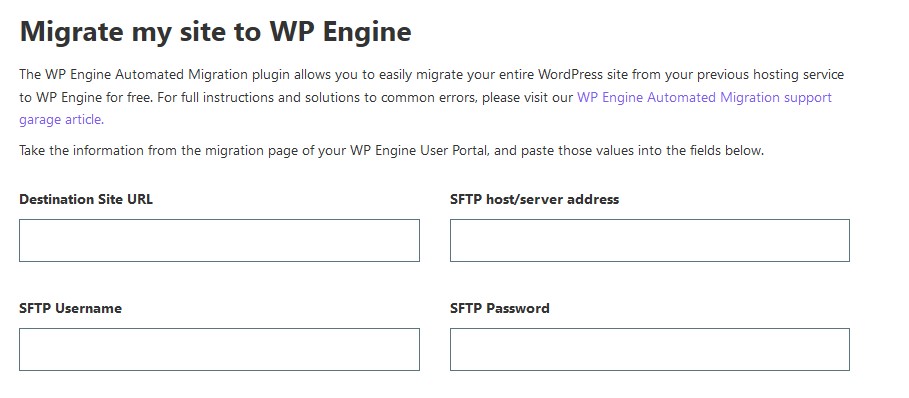
Enter the information from WPEngine’s Migration Setting’s page that you opened in the original tab/window. Click Migrate to begin migration of the demo to your new site.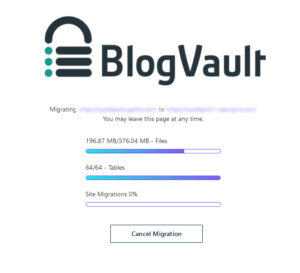 Note: This process could take up to 25 minutes.
5.) Enter your New Site
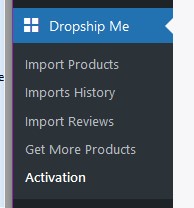
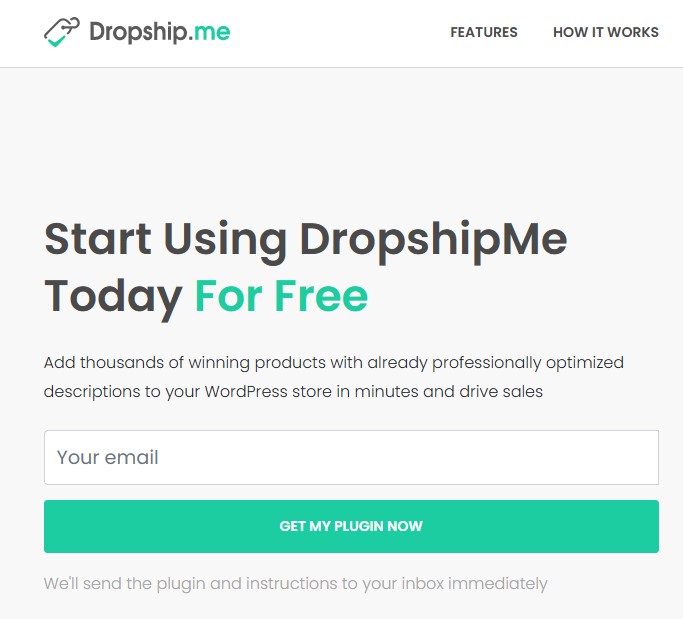
1.) Setup your DropshipMe Plugin
This is where all the magic happens.
First off, go to Dropship.me and follow the “Get my Plugin Now” button to get your Free API Key.
Add that API Key to your Dropship.me plugin’s Activation Settings.
2.) Start Picking Products
Once you’ve added your API key, you’ll immediately be able to begin stocking your ecommerce business with products of your choosing.
We’ve already added 20 of top trending products to your store and you have the option to add up to 30 additional products, or swap out any of the products we’ve imported for you.
(Additionally, you can upgrade your DropshipMe account to unlock even more product slots for your store).
The process of adding new products to your store is super simple:
- Go to the DropshipMe Menu
- Select the category of items you want your store to sell (don’t miss out on specifying sub-categories!)
- Select the products you want stocked in your store and click ‘Import’!
It’s just that easy!
3.) Review Your New Products
Once you’ve imported all the products you want stocked to your store, you can review and edit them at any time by clicking the Products menu in your WordPress dashboard.

1.) Go to the Woocommerce Settings Menu
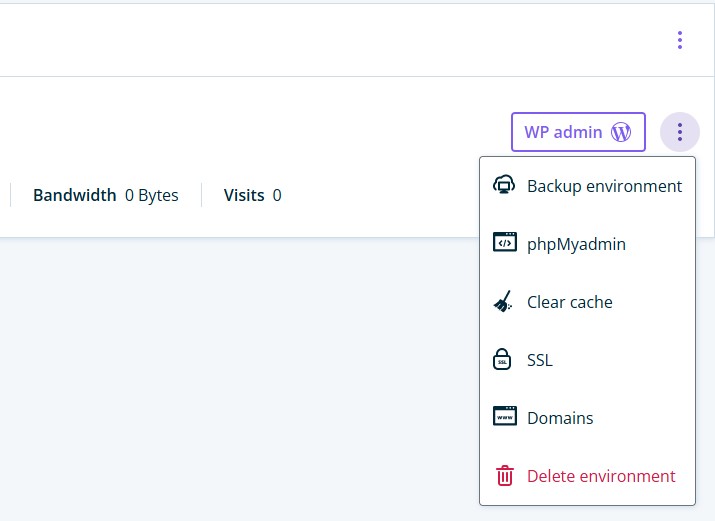
Log in to your WordPress dashboard, either through the WPEngine Admin menu or with the user account details you will have made when using the SYWB Setup Plugin.
Next, you’ll need to navigate to the Payment tab of the WooCommerce Settings Menu.

You may or may not see a small banner in the top of the screen saying “PayPal Payments is almost ready. To get started, connect your account.” If so, feel free to click the link within it, otherwise, click the “Finish Set-up” button to the right of the “Paypal” option (it should be the top row).
2.) Configure Paypal Settings and Connect your Account
You will be brought to a page where you can choose the way you want Paypal to be integrated into your store. We recommend using the following options for most users, however your circumstances may call for different plan options.
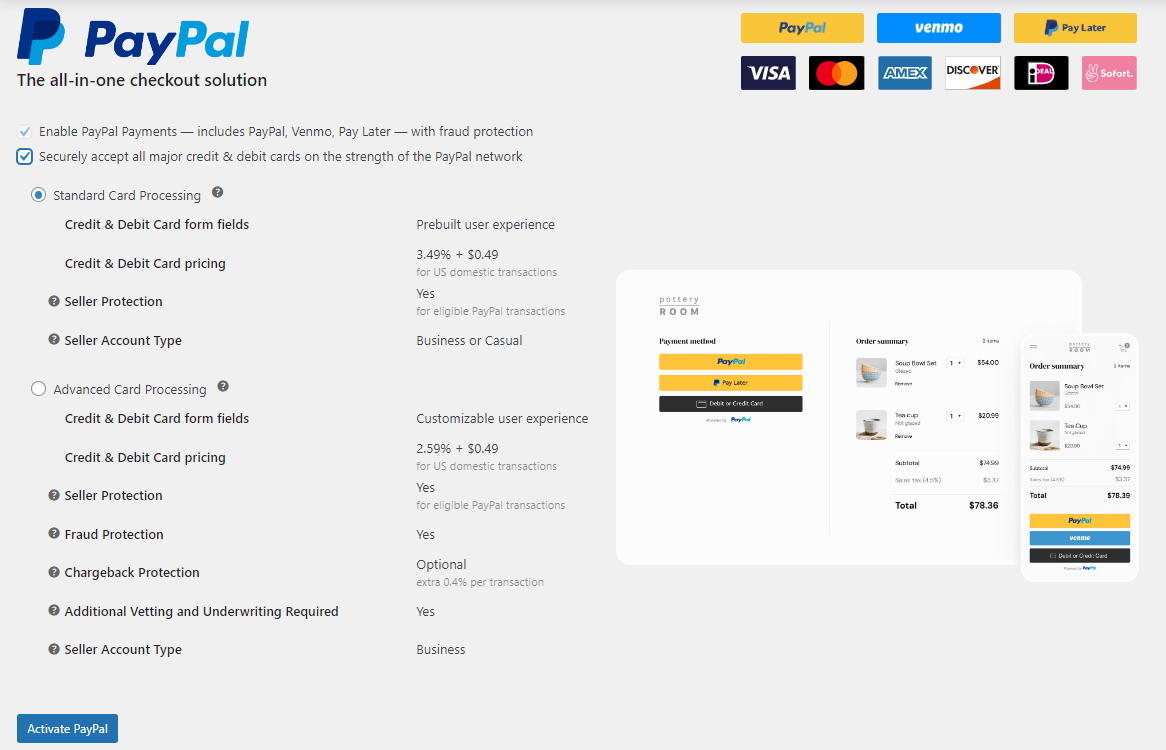
Once you have selected the options you’ve chosen, click the blue “Activate Paypal” button and follow the prompts it gives you to either connect your existing Paypal account to your store, or create a new account that will manage your store’s transactions.